Jordan misplaced his scissors. I found them. He said,
Thanks Mom, you're the best.
My heart melted.

Tuesday, December 1, 2015

Sunday, November 22, 2015
The Kitchen
The pictures on this post didn't work, so here it is again, hopefully with pictures.
After months and months (years?) of planning, it was time to paint the kitchen cabinets.


After months and months (years?) of planning, it was time to paint the kitchen cabinets.
Before pictures:


Taking the doors off and painting with Rustoleum's bond coat:

After months of searching, finally found the right knobs:
I wanted a shiny gold glow to the dark cabinets. Regular paint didn't work. After much trying, I used a lightly saturated dry paint brush with metallic acrylic paint. I used gold, copper, and antique gold colors.

I love how they turned out! I don't love the distressed and worn look, but I do like the patina Tuscan look. I'm pleased with these. After glaze and protective top coat they were ready to go.


I added some pretty scrollwork to the faux drawers:

Now for the top cabinets. My plan was cream color with golden glaze. Because this was a lighter color I decided to prime the cabinets rather than simply degloss. Sanding was a bad idea, it brought out some stains that took extra effort to fix. Here are the top cabinets after priming. We really enjoyed having no doors on the cabinets. Haha! It was convenient to not have to open the doors. Kitchen sure looks messier, though.

I used a regular cream colored paint from Home Depot rather than the Rustoleum bond coat.


It took me a LONG time to figure out the glaze. I tried many different things. I got a clear glaze that you were meant to mix in your color choice. I couldn't get the color right again until I used the metallic acrylics. Finally I achieved the golden honey glaze that I wanted. I didn't want the dark glaze that you see sometimes on cream cabinets. I think the glaze is too hard to see on these pictures. But in the grooves of each cabinet and the above trim you will find the honey colored glaze.

I got excited and I bought some decorations. Most of these things we already had but yes, I had a fun trip to Hobby Lobby and Pier 1. =)

I finally figured out the "style" that I like. It's not modern. Not shabby chic (the distressed and worn look). Not minimalist. I like TUSCAN style. Dark wood, scrollwork, metalworks, creams, comfy.
And, have you noticed anything wrong in this kitchen? Yes, me too. It is screaming for a new countertop. Hello mascarello granite slab with my name attached:

Totally Tuscan! And that thing is 12.5 feet long!
I plan on painting that white garbage can a "oil rubbed bronze." And I plan on having a stone backsplash. I haven't decided for sure yet, but something like this:


I TRIED to move the outlets on the backsplash to under the kitchen cabinets. But that didn't work for several reasons. GFCI. Walls are stuffed with insulation. Maybe some code issues? But I found these beautiful oil rubbed bronze outlet covers! So that made it mostly all better. They will look something like this:
And there will be some more scrollwork on the bar side of the "island" and a few corbels, something like this:
SOMEDAY in the future we might have this light hanging:
And maybe Tuscan style paint job on the walls?
Lizzy's Pink and Purple Furniture
We thought it would be fun to paint Lizzy's old furniture. This homework desk came from Matt and Teresa and apparently they got it from DI for $5. Ha! Looks great now. Lizzy picked out the knobs from Lowe's and Hobby Lobby. It is purple and the inside of the drawers are pink.


This is her headboard from Natalie T. that used to be a washed out white. It is purple and the top stripe is pink.


This the dresser that I grew up with. It had some stains on it that I could never get off, so it looked a bit grimy. Now it looks great! It is pink and the inside of the drawers are purple. I smeared vaseline all over the drawer guides and now they open super smooth again.


This is Lizzy painting glow in the dark paint on the vinyl decals that would go on her furniture. We painted a thin film over the stickers, but the stickers to do not seem to glow. So that method didn't work. I might try something else... we will see.

These decals are removable. Lizzy got to put them where she wanted and Jordan helped her.
Yes, Jordan has been jealous. I told him that I was planning on making him a car bed and we would paint it together. Of course he's ready to do it now. But it is uncomfortably cold outside nowadays so I told him that we will do it in the spring. He's counting down the days. In the meantime I'm researching how to take on this project.
Wednesday, September 30, 2015
Stars
Jordan: Mom, Lizzy says she loves you more than the stars. But I love you more than everything!
Thursday, August 20, 2015
Yellowstone
Last week we took a trip up to yellowstone, about 5 hours away. On the way there is a place called Bear World. They have lots of bears and animals that you can see. You drive around this course 3-5 mph. They told us not to stop because they bears like to climb on cars and pop tires. So as Morgan was driving there was a bear crossing the road. We tried to avoid him but he walked in front of our car! So we stopped and it changed direction and started walking toward us. So Morgan quickly reversed the car and changed direction with no further incident. This is Lizzy's rendition of that event:

There was a petting zoo with a PIG! And several ducks, chickens, goats, and deer. Bear world was great. There were a few carnival rides, too! Kids loved that. They also loved going swimming at the pool at the hotel.

I thought Yellowstone was fascinating. This is a hot pool. The blue is suppose to be about 200 degrees Fahrenheit! There was a faint scent of sulfur. It wasn't bad at all. We also saw boiling mud and geysers including Old Faithful. Fascinating! There is all this geothermal activity because Yellowstone is a huge active volcano. There is no lava, though.

Fried Chicken
This is my family coming out to greet me as I drive into the garage. They each have a piece of fried chicken.

Saturday, August 15, 2015
Count Down
We were driving on the freeway for a longer-than-usual drive.
Jordan: I have to use the toilet!
We didn't really believe him. It seemed he just wanted a break from being in the car. So we encouraged him to wait a bit. A few moments later:
Jordan: Five... Four.... Three....
We pulled over so fast!!
Jordan: I have to use the toilet!
We didn't really believe him. It seemed he just wanted a break from being in the car. So we encouraged him to wait a bit. A few moments later:
Jordan: Five... Four.... Three....
We pulled over so fast!!
Friday, June 26, 2015
Cupboard Makeover
See the extra 6 inches where the keys are hanging? Decided it would be cool to put another cupboard there. See the blank space just above the paper towels facing the sink? Thought it would be cool to a spice cupboard there.

Took the back off.

Bought a "sawz all" YAY!! and chopped the cupboard down to it's new size.

Crafted a new cupboard, put it in that place.

By the way I had the doors custom made to match the ones we already have.
Added a small 3 inch wide spice cupboard to the side that was originally blank.

Added new crown molding to the top to match the rest of the cupboards.

Glad to be done. *phew*
Sunken Trampoline
We got a trampoline.

We wanted to put it in the ground.

Started digging.

And digging.

The Clarks helped us and got some dirt out of the deal.

Morgan did the hard part of putting all the dirt on the side of the house. Didn't want to pay hundreds to dispose of it.

After 3 weeks we finished digging.

We did a "terraced bowl" shape and large trenches for the 4 legs.


Hallelujah we finished.
Piano Make Over
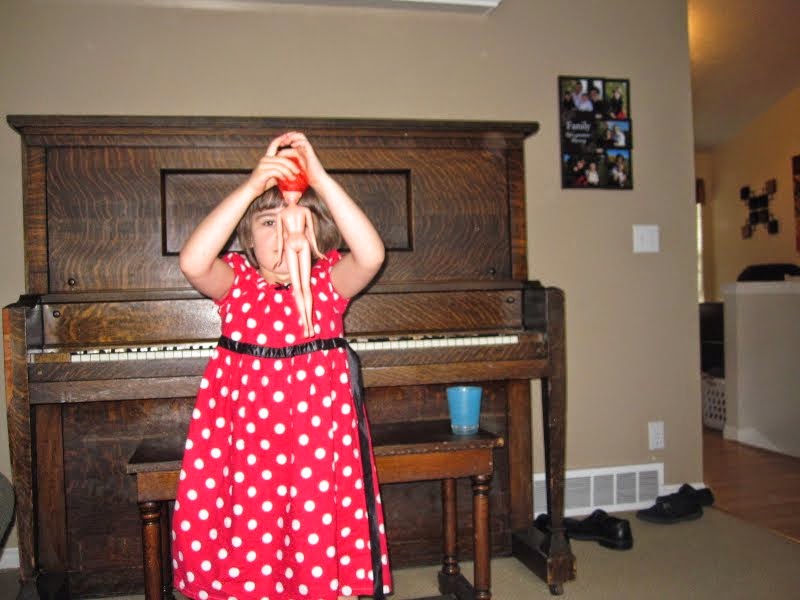
In the following picture you can see the finished piano bench. It was my first time upholstering anything. The gorgeous fabric is so stunning that my mistakes are easily overlooked, I think. =) It was my painting test run. Turned out great. So the whole piano would be next.

The entire piano had so many decades of varnish applied that there were some strange texture issues on all visible surfaces. This required more than just a re-paint - it needed a start over. So the whole thing got sanded. Thanks again, Mom, for the sander.

I thought it would lighten the load by taking all the removable parts out of the piano. It didn't help very much. It was still a beast to move. The harp attached to the inside is the super heavy part. But I'm glad I unassembled it because I was able to clean up years of dust under the keys.

I considered using stain to preserve the unique looking grain. For several reasons I decided to go with Rustoleum's cabinet makeover kit. The bare wood needed a layer of primer before paint. I thought it would be funny to have a sky blue piano for a day.

After primer came 2 coats of "bond coat" in expresso brown.

Next I used diluted red paint and a cloth to give the piano red streaks to make it look like a deep cherry wood. The next step was glaze which gave the paint a gorgeous deep look and even brought out the red. Finished with a clear protective top coat. If you look closely at the following picture you can see the red.

Actually you can disregard the white flaws on the front of the piano. That happened while moving it in. I've since fixed them. I plan on painting and applying a pretty wood scroll over the rectangle. Will happen as soon as I get to home depot.
Subscribe to:
Posts (Atom)